
You can create schemaFrom any version of Word And we tell step by step how it should be done, but also by inserting shapes and keys or downloading specific templates if you don’t have time for all of the above.
How to make a step by step outline
The step will depend on the version of Word you have, if it is more or less modern, the menu that appears on the screen or the place where we can find the outline to add it to the text or vary in a Word document. We’ll usually find it In the “View” tab at the top.
- The word abre
- Go to the top menu and open the “View” section
- In the first option, we will find the “Views” section
- Tap on “Plan”
- Schema will be created automatically

Keep in mind that it is recommended that you do the steps before writing the text in the document because later you can write it after the levels you want.
Create level
Next, we write the first title or point of our document and Word will automatically specify it Top 1 style and outline 1 level. From there, we can write the rest of the points in our document and assign them to the same level we do through the level buttons we find within the Outline tool. Now, all we have to do is repeat this with the rest of the points that we want to add to our plan and assign it to the level we want.
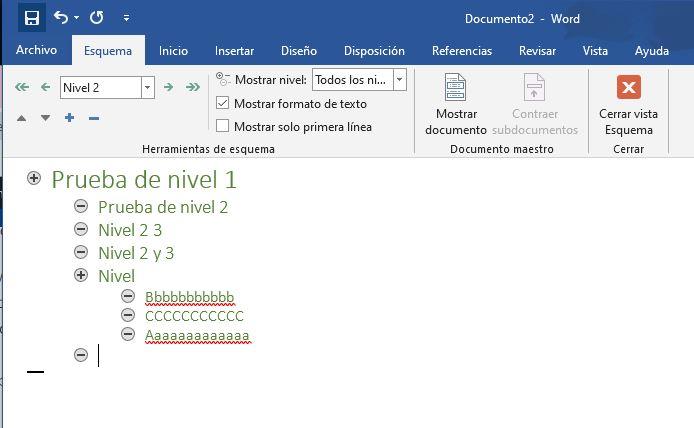
We only have to add texts according to different levels. That is to say… choose Level 2 and you will see that the plan automatically moves to the corresponding category, automatically constructs the plan and selects the styles. For this, we can use the title styles that Word provides itself, Title 1, Title 2, Title 3, etc., Because each has its own level assigned to this plan or Define styles yourself We want and later provide them the appropriate level according to the structure that we give to the document. It will look like you can see in the example screenshot.
View by levels
In the “Planning Tools” section you can choose how you want to see it:
- Show level (all levels, level 1, level 2, level 3…)
- Show Text Format: Yes or No
- Show Suraj the first line: Yes or No
Here too You can choose the levels, Go up or down …
From the Outline mode in Word, following the previous steps, we have our tools that allow us Increase or decrease the level of any point or The title of our document, however, we can also select it directly from the drop-down. From there we can also Increase or decrease the title by the structure of the outline in Word, Levels rise or fall Under a title, etc.
Concept map or schematic with shapes
Following the previous steps you will create a simple diagram with a range of information, but not the classic conceptual map that allows you to go Draw arrow between a square Or any other and of course you have seen some time. If you want to create an outline like this in Word, the steps are different. Of course, it will take us a little longer, although the result will be a lot more attractive and attractive.
- The word abre
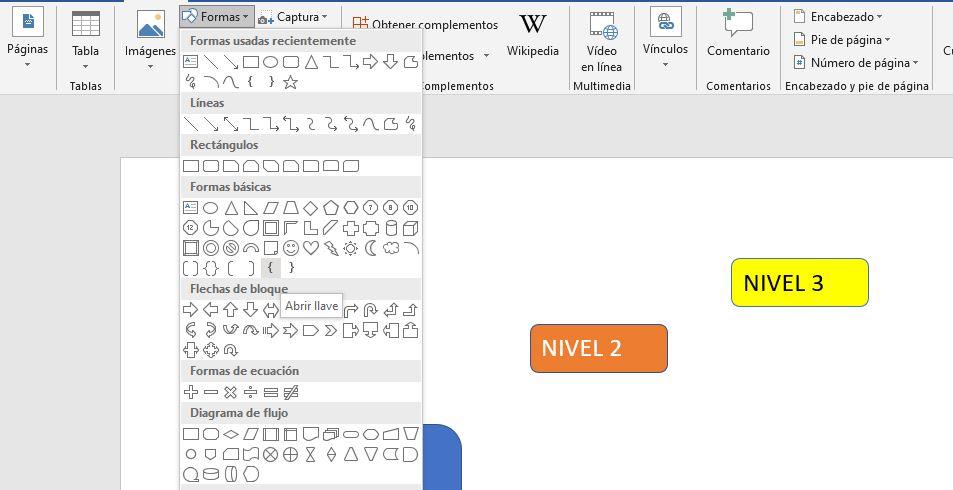
- Go to “Insert” section
- Choose option “Form” and a drop-down will open
- Choose a shape that you like … be it square, rectangle, oval
- Hold backCreate a shape and choose the size you want
- Customize background color, outline shape or fill shape
- Right click on the shape with the mouse
- Select “Add Text” from the drop-down menu
- Choose format Text you want, size, font

Once we make the first box, all we have to do is repeat it until we have created the rectangles you need. you can do it Press Control + C and Control + V Copy the same rectangle and use it elsewhere. This is enough to change the text inside to have another identical box with the same font, and we’ll go faster. You can change the color of each box as required, format, letter, text …
Just do the same Until all elements are formed, As long as you have all the plan rectangles or boxes in Word and all the information.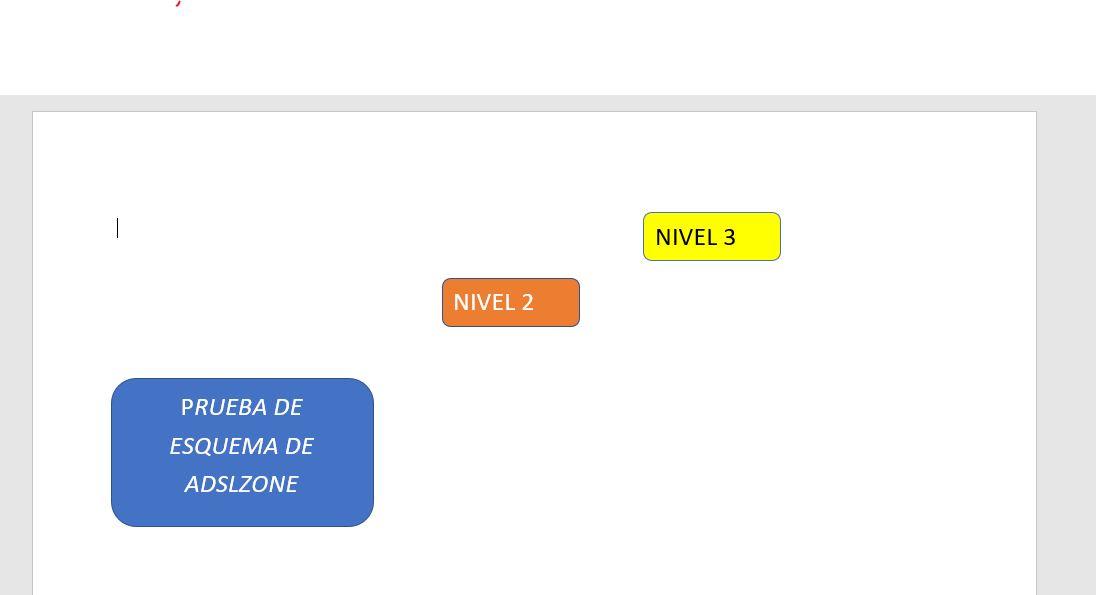
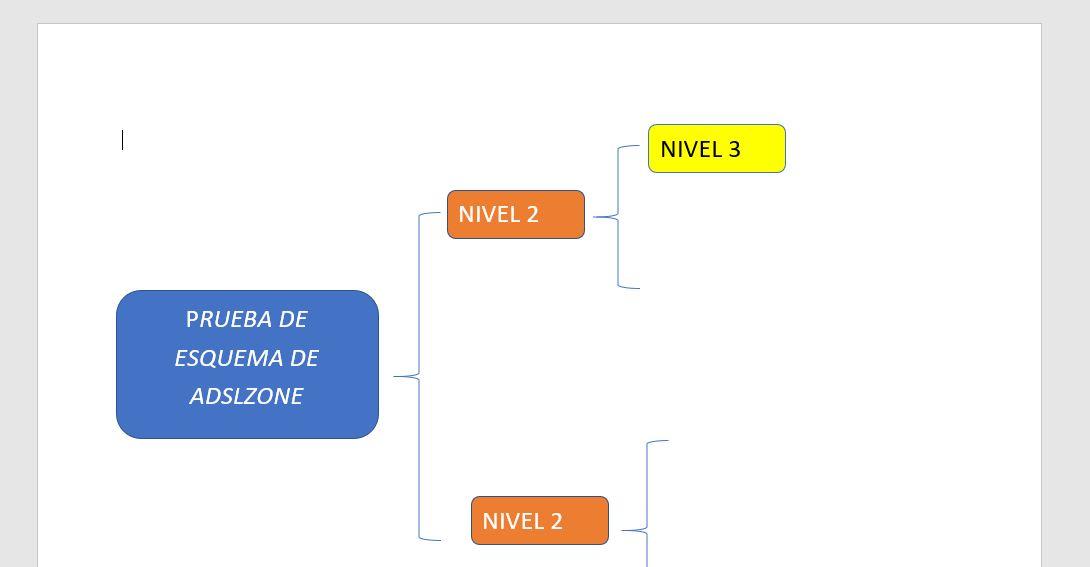
When we are done, we follow the same steps to add keys that finalize the schema as we imagine:
- The word abre
- Tap on “Insert”
- Choose form section
- Select the key you want to include in the squares
- Insertla
- Resize fit levels
 Plan will be ready With data you want. One “tip” you can follow is to always save the design and you only have to modify the colors or the text when you need to create an outline in Word of another subject or other content. This way you will not have to repeat the structure every time.
Use template
One of the most convenient ways to create an outline in Word is for you to use a template that does this. You just have to search for a template website and search for “Scheme 2” or find a category that has this type of design. The advantage of templates is that schematics are more elaborate. If you plan by following the previous steps. You will have a much more perfectionist design and it will take half the time to get what you want. In addition, the template is usually a pack in which we find multiple designs with the same use of colors, the same font and uniformity that we need. You can download many free templates.
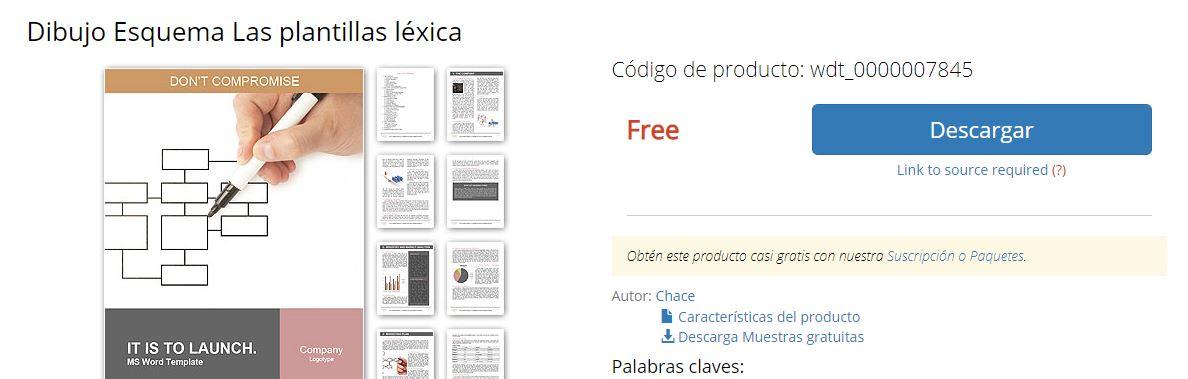
One of the best websites for Download template is smile template And allows you to search by keyword Write “Scheme” or “Drawing Scheme” Or “diagrams” to find the designs that are necessary for you. Once you have selected one, all you have to do is choose “Download” and open the file on your computer from Word to start editing what you need.

Sally Morgan is a contributor at Sproutwired.com, covering a broad range of topics including news, politics, business, technology, sport, entertainment, and lifestyle. She focuses on delivering clear, balanced reporting and practical information that helps readers stay informed about current events and emerging developments. Sally is committed to presenting stories in an accessible and engaging way, with an emphasis on accuracy, relevance, and issues that matter to everyday readers across Australia and beyond.


